Introducing AppLife Cloud Version 6!
We’re excited to announce the release of the next version of AppLife Cloud. It’s never been easier to publish and maintain deployed Windows software with AppLife! Along with a new look and feel, version 6 strengthens the integration of the cloud dashboard, builder tools and AppLife Manager software. On the backend, we’ve increased performance, reliability and extensibility of the platform, which will lead to a better experience and more frequent feature additions going forward.
Here’s a summary of what’s new…
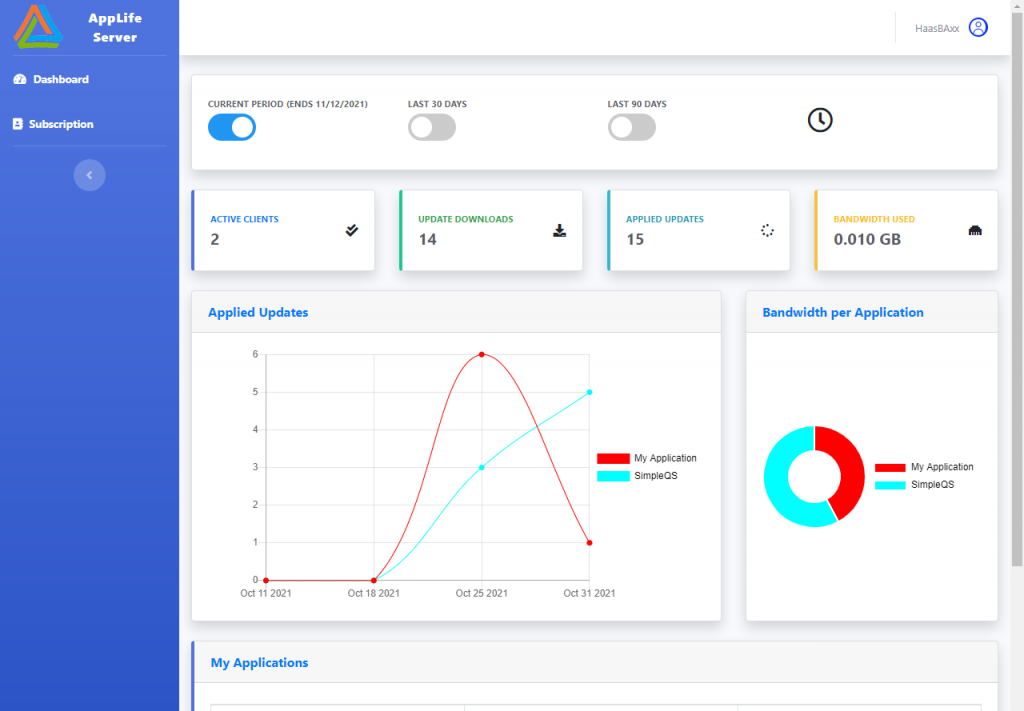
Dashboard
- New Identity/Authorization System
- Two Factor Authorization
- Authenticator App
- Hardware Key
- More strict password requirements
- Email usernames
- Two Factor Authorization
- Responsive Layout
- View Failed Client Execution Logs in Dashboard
- Persisted Sorting, Paging, Filtering Navigation
- Performance and Scalability improvements
- IP Based Publishing Filter
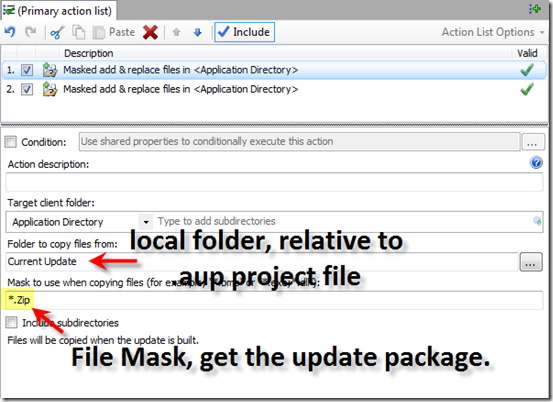
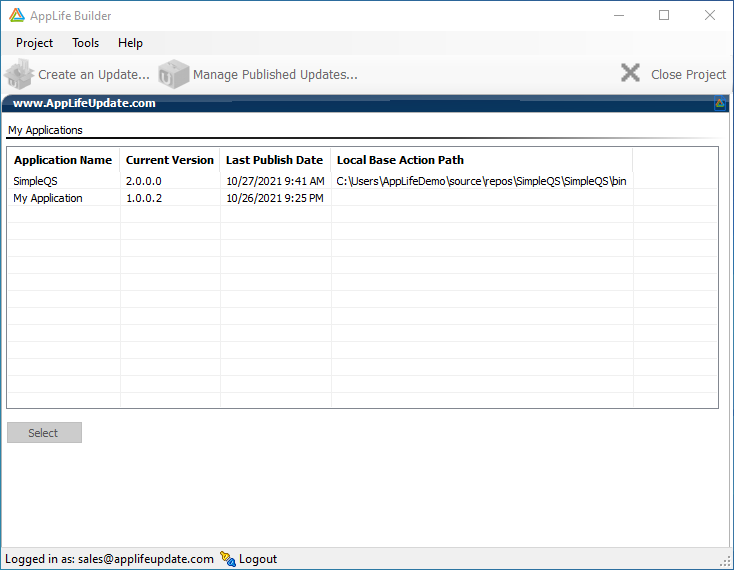
AppLife Builder
Formerly called Make Update, AppLife Builder has been completely integrated with AppLife Cloud. You’ll notice the changes upon launching AppLife Builder, as your prompted to log on. All of your build configuration information is now centrally managed within AppLife Cloud. AppLife Builder makes it easier to build and publish update packages for your cloud applications.
- Integrates directly with AppLife Dashboard
- Simplified, per-user installation without licensing
- Key Pair Encryption using local password
- Edit published update Access Control configuration
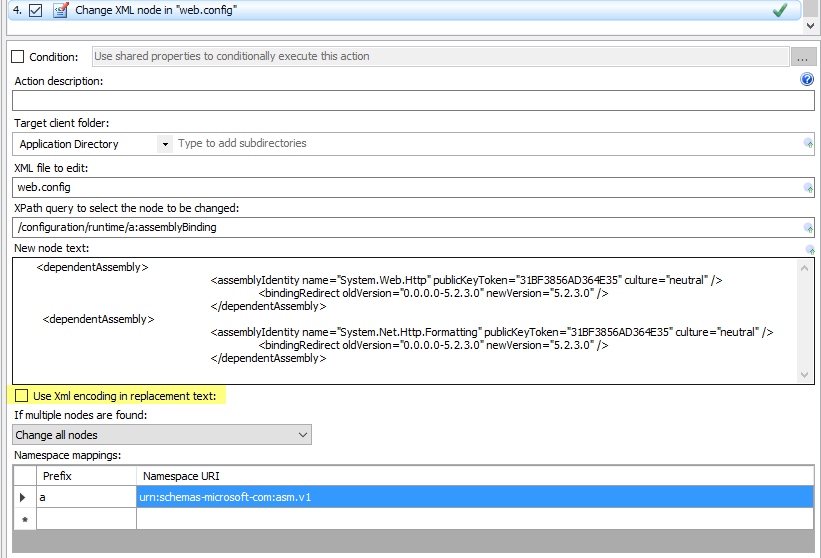
- New Install .Net 5 Action
- New Install .Net 4.8 Action
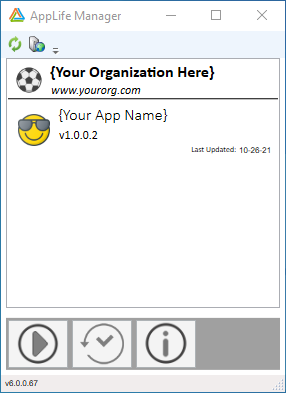
AppLife Manager
We’ve added many features to AppLife Manager that makes it a compelling option over direct AppLife integration. Completely manage the distribution and maintenance of your applications without any source code integration. Your maintenance process can be as automated or manual as you prefer, based on simple dashboard configuration. In version 6, deploying applications with AppLife Manager has never been easier.
- Organization Information in UI
- More visual feedback during update process
- Application Update History dialog
- Publisher and Application Information dialog
- Failed Update Execution Log Reporting to Cloud
- Local Behavior Settings Options
- Globally for all deployed clients
- Enable for specific clients
- Optionally require admin authorization for new applications
- Custom Publisher Code option
API Changes
There is a new .NET 5 (Core) integration assembly. The .Net 4.x integration assemblies are now built on .NET 4.5 and include new TAP based asynchronous integration. The biggest change is that the AppLife integration API is now deployed through NuGet and integrated directly into your Visual Studio projects. You can find them here…
AppLife.Api
AppLife.Api is for .NET 5 applications and includes the primary AppLife Update controller and visual controls for the .NET 5 Windows Client extension (WinForms and WPF)
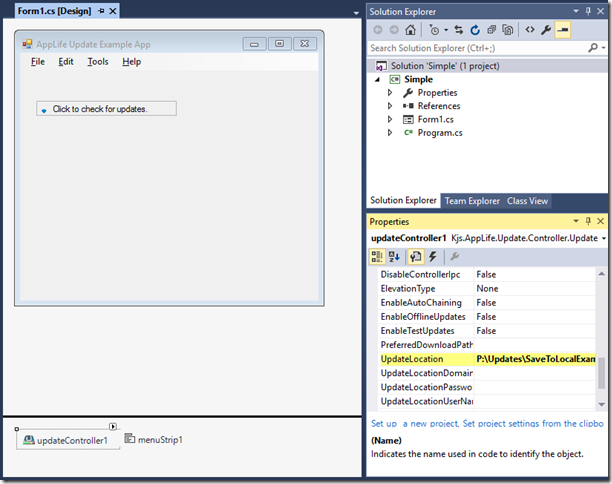
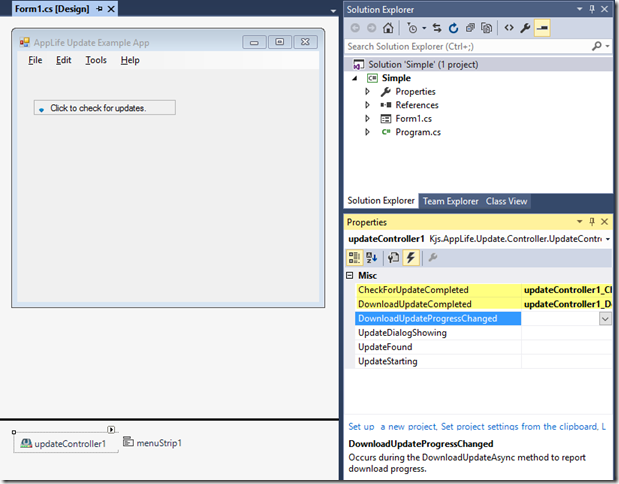
Kjs.AppLife.Update.Controller
This NuGet package is for applications targeting .NET 4.5 thru 4.8. It includes the primary AppLife Update controller and visual controls for WinForms.
Kjs.AppLife.Update.Wpf
This NuGet package extends and depends on the Kjs.AppLife.Update.Controller package and includes visual controls for .Net 4.5 thru 4.8 WPF applications.
In the Future…
We plan for frequent feature additions on the new platform. The next release is already in development and will add user management for subscription owners, allowing for adding and removing subscription users and modifying the application privilege’s of subscription users. We’re localizing AppLife Manager to German, Spanish, French, Italian, and Dutch with more languages to follow. Were adding more Update Actions too.
More to come…